Disclosure: This post contains affiliate links. As an Amazon Associate, we earn a small commission from qualifying purchases at no extra cost to you. We only recommend products we truly love and trust.
As someone passionate about babies and toddlers, in this article, we will explore how to make a baby blanket and walk through the step-by-step process needed to craft this beautiful product.
There is nothing quite as special as wrapping a newborn in a handmade crochet baby blanket. It is a labor of love, a cherished heirloom, and a heartfelt gift that parents will treasure for years to come. However, if you are new to the world of yarn and hooks, the idea of crocheting an entire blanket can feel incredibly intimidating. You might be envisioning months of tedious work, complex stitch counting, aching hands, and a project that eventually gets abandoned in the back of your craft closet.
What if you could create a stunning, cozy, and professional-looking baby blanket in just a single weekend?
Welcome to the ultimate beginner’s guide on how to crochet a fast and easy baby blanket. This comprehensive tutorial is designed specifically for beginners who want beautiful results without the frustration of complicated patterns. We will be using a incredibly simple stitch combination that builds up rapidly, creates a gorgeous texture, and requires absolutely zero advanced skills. Whether you have a baby shower coming up this weekend or you simply want to practice your basic crochet skills on a rewarding project, this step-by-step guide is exactly what you need.
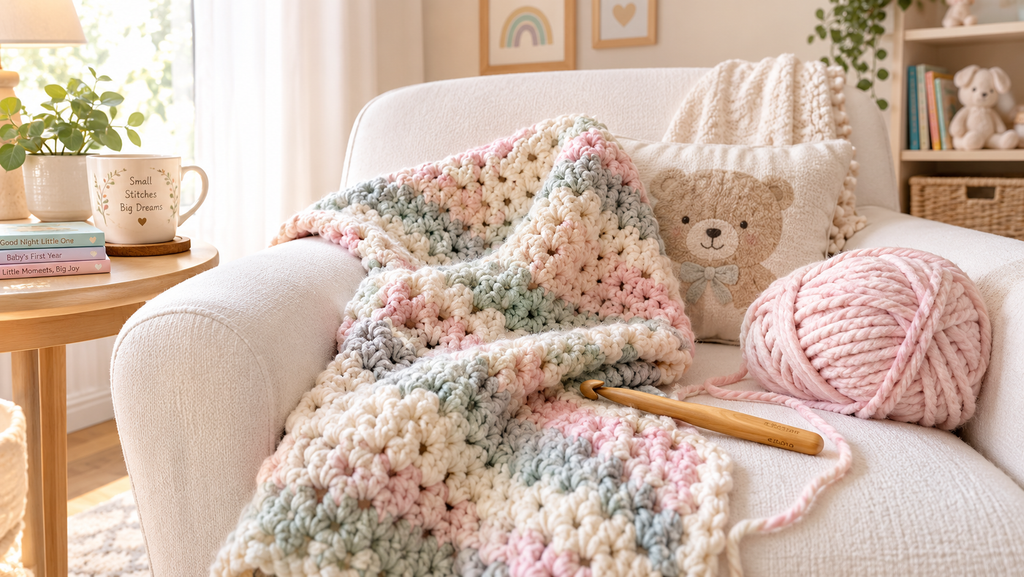
Why This is the Perfect Beginner Baby Blanket Pattern
When choosing your very first blanket project, the pattern you select can make the difference between a joyful crafting experience and a stressful one. This specific fast and easy baby blanket pattern relies on a technique often called the “Blanket Stitch” (a simple combination of a single crochet and a double crochet in the same space).
Here is exactly why this pattern is the holy grail for crochet beginners:
No Complex Counting Required: Once you establish the first row, you simply work your stitches into the spaces created by the previous row. You do not have to meticulously count every single stitch, allowing you to relax, watch a movie, or listen to a podcast while you crochet.
Rapid Pattern Buildup: Because we use a combination of stitches and (optionally) a thicker yarn, this blanket grows incredibly fast. You will see tangible progress within the first hour, which is a massive confidence booster for beginners.
Dense, Safe Texture: One of the most important factors in baby clothes and blankets is safety. Open, lacy stitches can easily trap tiny newborn fingers and toes. This simple stitch pattern creates a beautiful, dense, and squishy fabric without any dangerous holes.
Forgiving on Mistakes: The highly textured nature of this stitch pattern acts like an optical illusion. If you happen to drop a stitch or make a slight tension error, the rich texture completely hides the flaw, making your final blanket look flawlessly professional.
Essential Supplies: Gathering Your Crafting Tools
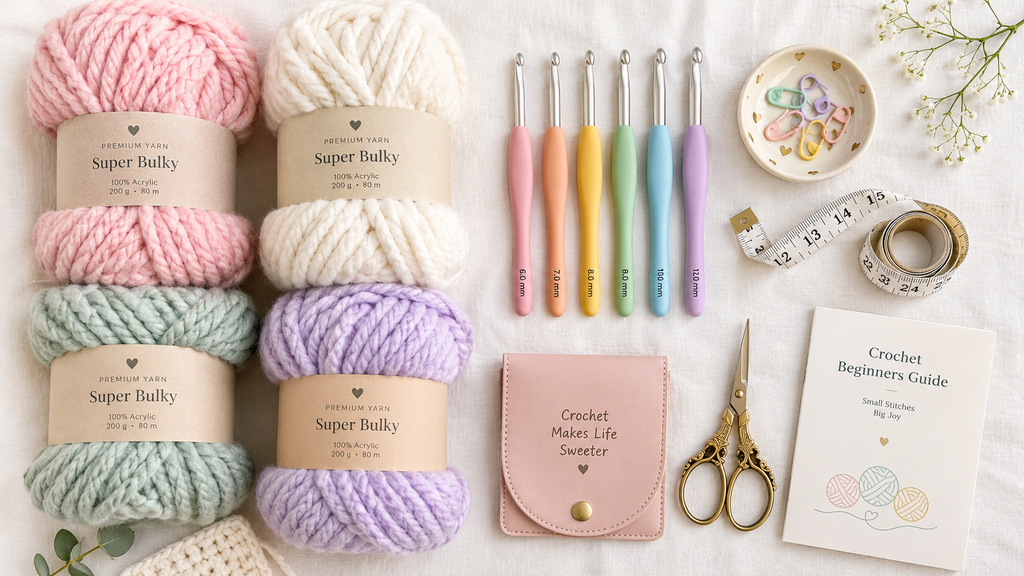
To crochet a fast and easy baby blanket, setting yourself up for success begins with choosing the right materials. As a beginner, using the correct yarn and hook will make the learning process infinitely smoother.
- The Best Yarn for a Fast Baby Blanket
To maximize speed and softness, you should look for a Super Bulky (Weight #6) or Chunky (Weight #5) yarn. Thick yarns mean you need fewer stitches to complete the blanket, cutting your crafting time in half. Furthermore, the yarn must be hypoallergenic, machine washable, and gentle on sensitive infant skin.
Text to hyperlink: For an ultra-fast, cloud-like blanket, we highly recommend Bernat Baby Blanket Yarn. It is OEKO-TEX certified and creates a plush, velvet-like texture that babies adore.
👉 Click the link to check the price on Amazon
Text to hyperlink: Prefer a lighter, classic blanket for warmer climates? Lion Brand Pound of Love offers incredible yardage and a beautifully breathable drape.
👉 Click the link to check the price on Amazon
- The Right Crochet Hook
The size of your crochet hook must match the weight of your yarn. If you choose a Super Bulky yarn like Bernat Baby Blanket, you will typically need a large hook—usually an 8.0 mm (L) or 9.0 mm (M) hook. If you use a worsted weight yarn, a 5.0 mm (H) or 5.5 mm (I) hook is standard.
Pro Tip for Beginners: Invest in an ergonomic crochet hook with a thick, comfortable grip. Gripping a standard, thin aluminum hook tightly (which beginners tend to do) can cause rapid hand cramps. An ergonomic hook allows you to crochet for hours without pain. - Essential Finishing Tools
Tapestry Needle: Also known as a yarn needle. You need this to weave in the loose ends of your yarn when the blanket is finished. Ensure you buy one with an eye large enough to thread your chosen yarn.
Sharp Craft Scissors: For clean yarn cuts.
Stitch Markers: While not strictly mandatory for this pattern, placing a stitch marker in the very first and very last stitch of your row can help you keep your blanket edges perfectly straight.
The Baby Blanket Size Guide: How Big Should It Be?
Before you create your first slip knot, you need to decide how large you want your blanket to be. “Baby blanket” is a broad term that covers everything from tiny car seat covers to large toddler bed throws.
Here is a standard sizing chart to help you determine your project goals:
| Blanket Type Standard Dimensions (Inches) | Best Use Case |
| Lovey / Security Blanket 12″ x 12″ | A tiny comfort object for the baby to hold. |
| Preemie Blanket 18″ x 24″ | Perfect for premature babies in the NICU. |
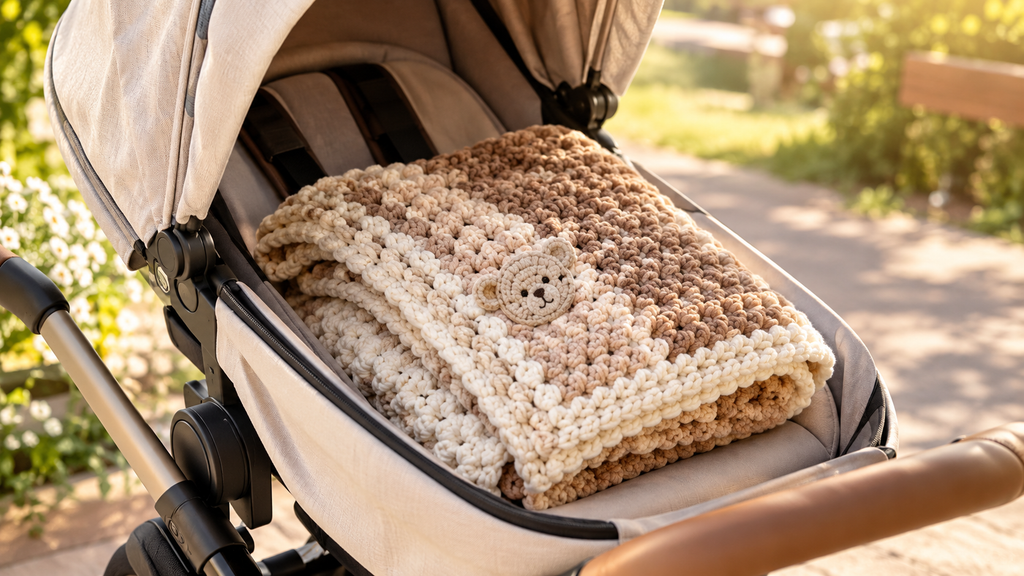
| Stroller / Car Seat 30″ x 35″ | Ideal size for covering a baby on the go without dragging on the floor. |
| Receiving Blanket 40″ x 40″ | The classic multi-purpose size for swaddling, tummy time, and nursing. |
| Crib Blanket 36″ x 54″ | Fits a standard crib mattress; transitions well into the toddler years. |
For this beginner tutorial, we highly recommend aiming for a Stroller Size (30″ x 35″). It is large enough to be highly functional and impressive as a gift, but small enough that you can easily finish it in a few days.
Step 1: Making the Foundation Chain
Every crochet project starts with a foundation chain. This chain determines the absolute width of your blanket.
- Create a Slip Knot: Pull a length of yarn from your skein. Loop the yarn around your fingers, pull the working end (the side attached to the skein) through the loop, and pull tight. Insert your crochet hook into the loop and pull the yarn tail to tighten it around the shaft of the hook. Do not make it painfully tight; it needs to slide easily.
- Hold Your Yarn (Tension): Weave the working yarn through the fingers of your non-dominant hand. Hold the hook in your dominant hand like a pencil or a knife—whichever feels most natural to you.
- Chain Stitch (CH): Yarn over (wrap the yarn over your hook from back to front), grab the yarn with the hook, and pull it through the slip knot loop on your hook. You have just created one chain stitch!
- Determine the Width: For our beginner pattern using the Blanket Stitch, you need to crochet an EVEN number of chains. Keep chaining until your chain reaches your desired width (e.g., 30 inches for a stroller blanket). Make sure you chain loosely! If your foundation chain is too tight, your blanket will curve like a rainbow instead of lying flat.
Once you have your even-numbered foundation chain ready, you are perfectly set up to begin the magical, repetitive stitch pattern that will form the body of your blanket.
Step 2: Row 1 – Establishing the Blanket Stitch
Now that your foundation chain is perfectly measured and completed, it is time to build the very first row. In many crochet projects, the first row is often the most challenging because working directly into a chain requires a bit of patience. Take your time here; once this foundational row is established, the rest of the blanket will flow effortlessly.
- Skip the First Two Chains: Look closely at the chain stretching away from your crochet hook. You will see a series of interlocking “V” shapes. Skip the first two “V”s closest to your hook.
- Create the Magic Cluster: In the third chain from your hook, you are going to place two different stitches into the exact same spot. First, execute one Single Crochet (SC). Immediately after, in that very same chain, execute one Double Crochet (DC). This combination of a single and double crochet in one space is the secret behind our beautiful, textured Blanket Stitch.
- Skip and Repeat: Skip the next chain on your foundation row completely. In the chain immediately after the skipped one, repeat the cluster process: place one SC and one DC in the same chain.
- Finishing the Row: Continue this simple, rhythmic pattern across the entire length of your foundation chain (Skip 1 chain, work [SC, DC] in the next chain). When you reach the very last chain of your row, you will alter the pattern slightly: simply place one Single Crochet (SC) in that final chain.
Congratulations! You have just completed the hardest part of the entire baby blanket. Even at this early stage, you should already start to see a beautifully dense, slightly bumpy texture beginning to form.
👉 Click the link to check the price on Amazon
Step 3: Row 2 and Beyond – The Magic of Repetition
Here is where the “fast and easy” promise of this tutorial truly shines. From this point forward, until the blanket is completely finished, you will be executing the exact same row over and over again. This mindful, rhythmic repetition is exactly what makes crochet such a relaxing and therapeutic hobby.
- Turn Your Work: Chain 1, and flip your entire project over, much like turning the page of a heavy book.
- Skip the First Stitch: Look at the top of your work. Skip the very first stitch you see (which is actually the Single Crochet you made at the very end of the previous row).
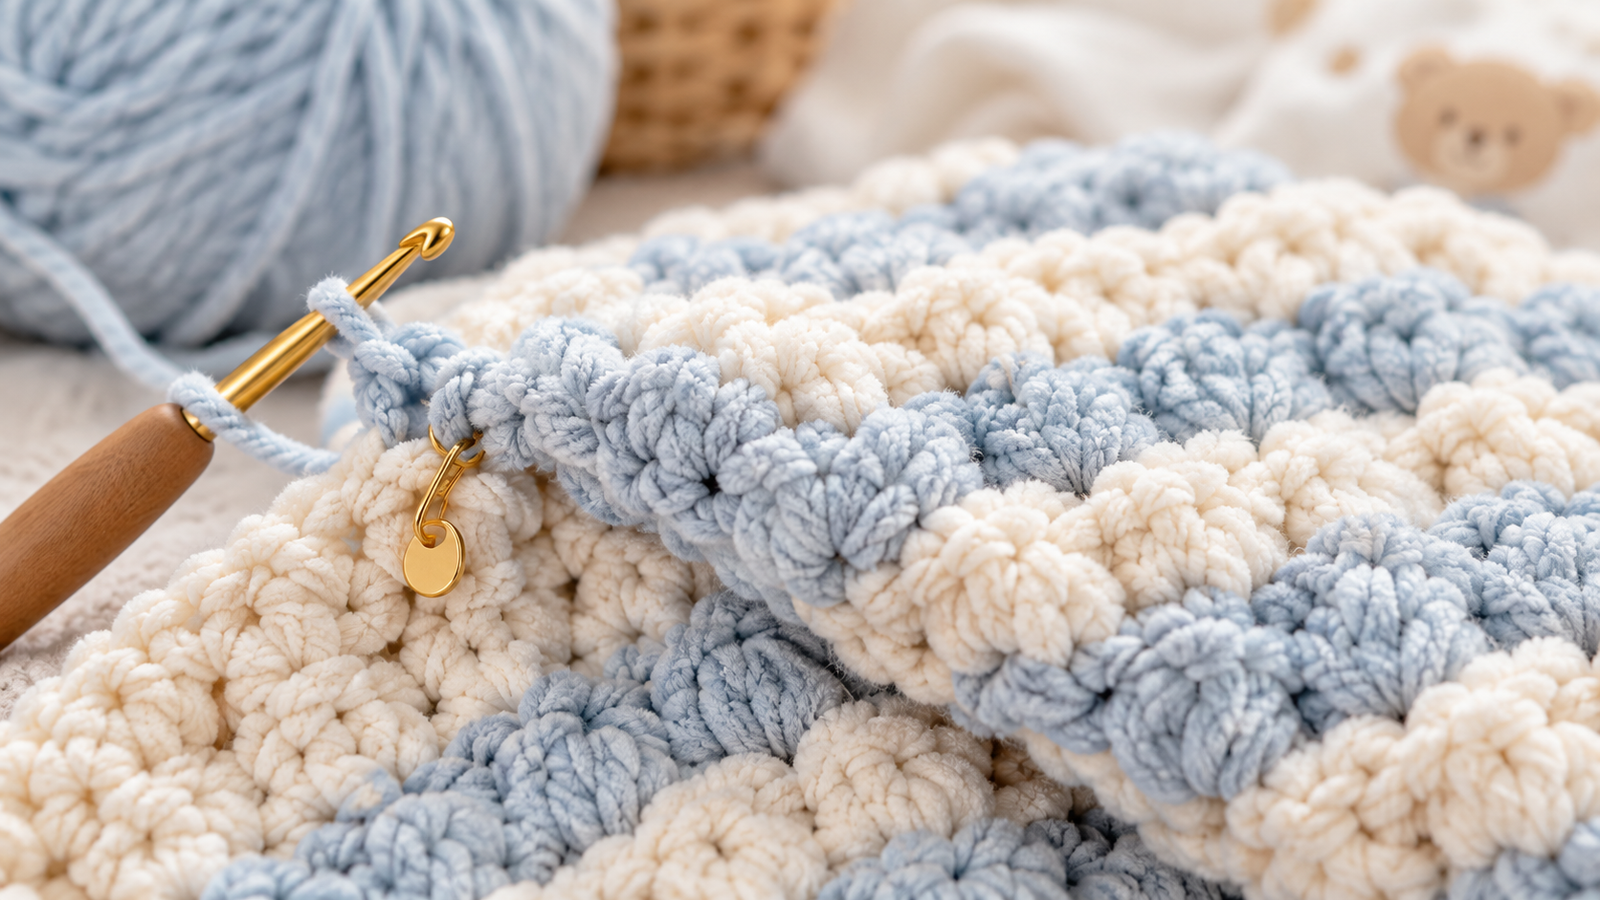
- Locate the Double Crochet: Look for the Double Crochet from the previous row. (Hint: It is the taller, slightly looser stitch next to the single crochet). Insert your hook directly into the top of this Double Crochet stitch, and work your magic cluster: one SC and one DC in the same stitch.
- The Golden Rule of the Blanket Stitch: For the remainder of the blanket, you will always skip the Single Crochet stitches from the previous row, and you will always put your [SC, DC] cluster into the Double Crochet stitches. It creates a locking pattern that builds a solid, gap-free fabric.
- End the Row: Just like in Row 1, when you reach the very end of your row, place a single Single Crochet in the last available space.
Troubleshooting Tip for Beginners: If your blanket starts looking like a triangle (getting narrower) or a trapezoid (getting wider), you are likely dropping or adding stitches at the end of your rows. To prevent this, place a stitch marker in the very first stitch and the very last stitch of every single row.
👉 Click the link to check the price on Amazon
Step 4: Adding a Simple, Clean Border (Optional but Recommended)
Once your blanket reaches the perfect stroller size (approximately 35 inches long), you could technically stop right there, fasten off, and be done! However, adding a simple border gives the blanket a polished, professional, and high-end “finished” look. It also acts as a wonderful frame that hides any slightly uneven edges you might have created while learning.
For a beginner, a standard Single Crochet Border is the absolute best choice:
- Do not cut your yarn when you finish your final row. Instead, Chain 1.
- Turn the blanket 90 degrees so you are now working down the rough side edge of the blanket.
- Place one Single Crochet evenly along the edge. Do not overthink this or worry about being perfectly mathematically precise; just try to space your stitches out evenly so the edge does not ruffle (which happens if stitches are too close together) or pull tight (which happens if stitches are too far apart).
- The Magic Corner Trick: When you reach a corner, place three Single Crochets in the exact same corner space. This brilliant trick allows the border to curve smoothly around the 90-degree angle without curling inward.
- Continue this process around all four sides of the blanket. When you get back to where you started, join the border with a slip stitch into the very first stitch you made.
Step 5: Fastening Off and Weaving in Ends for Baby Safety
You have officially finished crocheting! Now, it is time to secure your hard work so it survives years of use, dragging, and washing machine cycles. With baby items, securing your ends is a matter of safety; you do not want loose loops of yarn coming undone around tiny fingers. - Fasten Off: Cut your working yarn, leaving a generous “tail” that is about 6 to 8 inches long. Wrap the yarn over your hook one last time and pull the tail completely through the loop on your hook. Pull firmly to create a secure, tight knot.
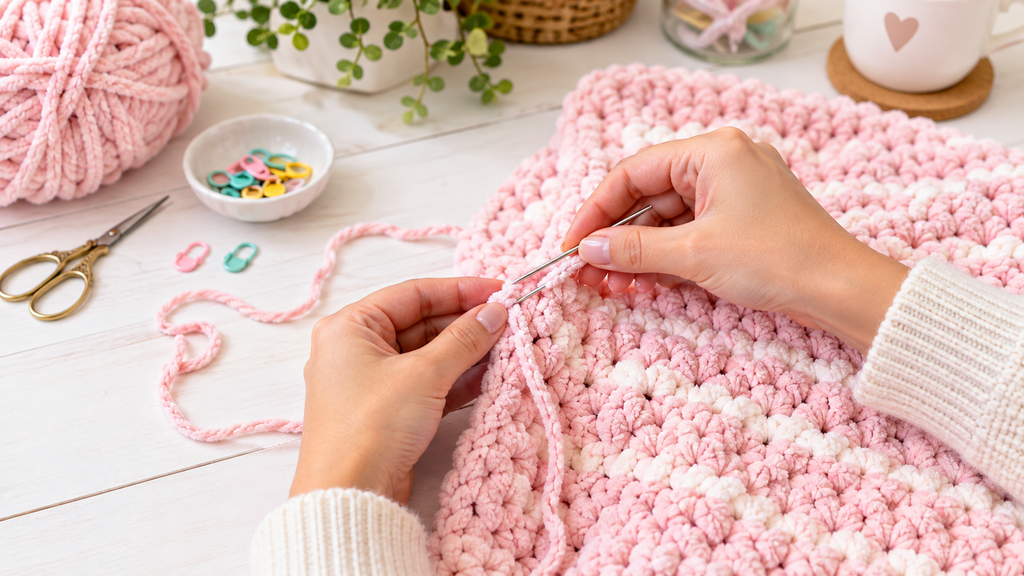
- Thread Your Needle: Thread the yarn tail through the eye of a large, blunt-tipped tapestry needle.
- The Zig-Zag Weave: Carefully weave the needle back and forth through the dense center of your stitches. Go in one direction for about two inches, turn around, and weave back in the exact opposite direction. Finally, turn one more time and weave in a third direction. This “zig-zag” method locks the yarn fibers together, ensuring it will never slip out. Carefully snip any remaining yarn flush with the blanket.
👉 Click the link to check the price on Amazon
Step 6: How to Care for and Gift Your Handmade Baby Blanket
If you are gifting this beautiful creation at an upcoming baby shower, presentation and care instructions are the final touches that elevate your gift. Because baby items endure frequent washing due to spills and spit-ups, proper care is essential to maintain the softness and shape of the yarn.
If you used the recommended Bernat Baby Blanket Yarn (100% polyester) or a premium acrylic yarn:
Washing: Always machine wash in cold water on a delicate or gentle cycle.
Detergent: Use a mild, baby-safe detergent that is completely free of harsh dyes, optical brighteners, and heavy perfumes to protect the newborn’s sensitive skin.
Drying: Tumble dry on the lowest possible heat setting, or lay the blanket flat on some dry towels to air dry. Never use high heat on acrylic or polyester yarn, as it will literally melt the plastic fibers and ruin the blanket’s soft texture. Furthermore, never hang a soaking wet crochet blanket on a clothesline, as the heavy weight of the water will stretch your beautiful stitches out of shape!
To gift it, fold the blanket neatly, tie a wide satin ribbon or a piece of rustic twine around it in a bow, and slide a small homemade care tag underneath the ribbon detailing the washing instructions above.
👉 Click the link to check the price on Amazon
Conclusion: You Did It!
Crocheting a baby blanket does not have to be a multi-month marathon of meticulous counting and decoding complex abbreviations. By choosing a thick, squishy yarn and utilizing the incredibly simple Blanket Stitch, you have successfully learned how to crochet a fast and easy baby blanket that looks like it was purchased from a high-end boutique.
Not only have you created a warm, cozy essential for a little one, but you have also unlocked a relaxing, lifelong hobby. Grab your hook, pick out your favorite pastel yarn, and start stitching—your next beautiful baby blanket is just a weekend away!
Did you try this fast and easy baby blanket pattern? We would love to see your finished projects! Pin this tutorial to your favorite Pinterest Crochet Board so you can easily find it for your next baby shower gift!
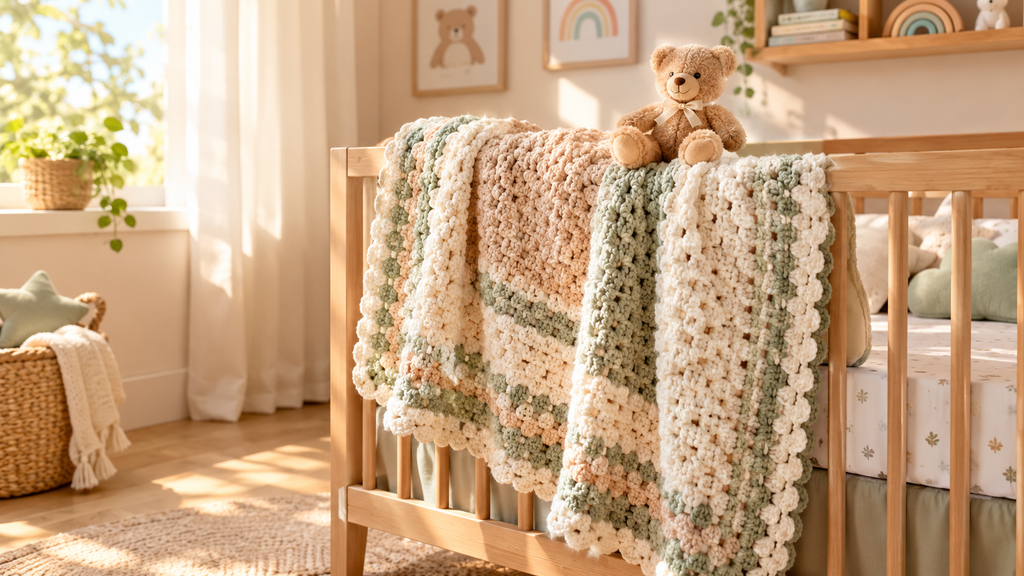
And now, I hope I have succeeded in helping you make a blanket for your little ones. I hope you follow all these steps to create the very first product for your baby.