Disclosure: This post contains affiliate links. As an Amazon Associate, we earn a small commission from qualifying purchases at no extra cost to you. We only recommend products we truly love and trust.
As someone who is passionate about baby crochet, in this article, we will provide you with a step-by-step beginner’s guide to crocheting a soft, comfortable sun hat, complete with all the details you need.
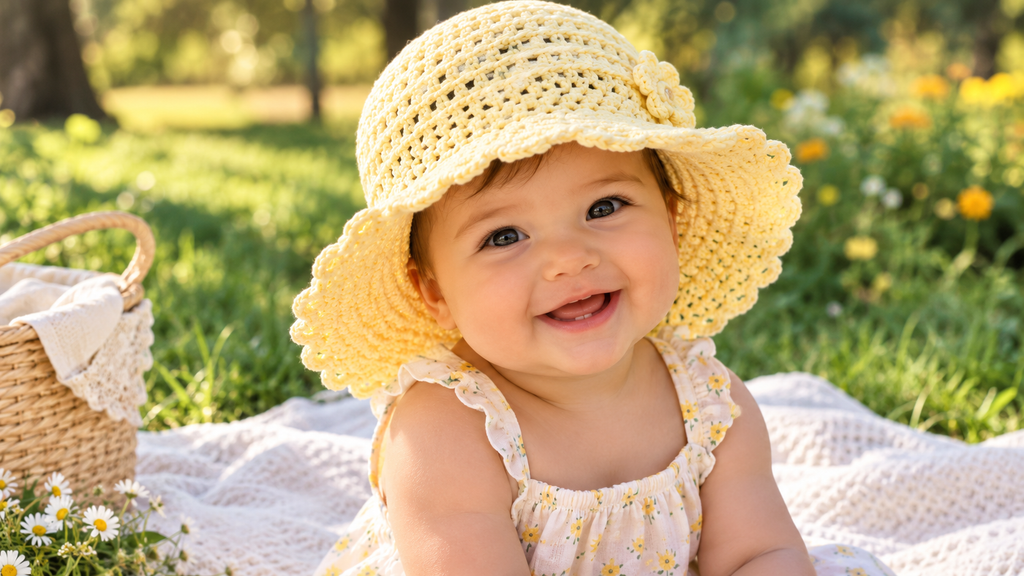
Summer is the season of sunny park playdates, beach adventures, and outdoor family memories. However, keeping your baby’s delicate skin protected from harsh UV rays is always a top priority for parents. While store-bought sun hats can often be stiff, scratchy, or quick to slip off, a handcrafted crochet baby sun hat offers the perfect blend of breathable comfort, custom fit, and irresistible style.
If you are new to the world of crochet, making a wearable garment might initially sound intimidating. Fortunately, a wide-brim baby sun hat is actually one of the most rewarding and straightforward beginner projects you can undertake! Built using simple fundamental stitches worked in continuous rounds, this pattern allows you to practice essential shaping techniques while creating a practical, high-value item in just a single afternoon.
In this comprehensive guide, we will walk you through every single step of the process—from selecting the softest, safest summer yarns to customizing a wide brim that stays naturally upright without flopping into your baby’s eyes. Whether you are crafting for your own little one, creating a thoughtful baby shower gift, or stocking up your handmade shop for the summer season, this step-by-step tutorial will give you all the skills and confidence you need to succeed.
- Why This Project is Perfect for Beginners
When you are starting your crochet journey, choosing the right project is crucial for building your confidence and skill set. Many beginners start with flat scarves or simple dishcloths, but transitioning into 3D shaped items like hats is far easier than it seems—especially when starting from the crown down.
Here is why this wide-brim baby sun hat pattern is the ultimate confidence-booster for beginner crafters:
Fast and Gratifying Completion: Because baby items are small, this project works up remarkably fast. Most crafters can complete an entire hat in 2 to 3 hours, providing instant gratification without the fatigue of large-scale projects.
Mastery of Core Techniques: You will practice key foundational skills that apply to almost every future crochet project, including starting with a Magic Ring, working in continuous circular rounds, calculating stitch increases, and working into specific stitch loops.
Minimal Material Investment: A single 50g skein of quality cotton yarn is usually more than enough to complete the entire hat, making it an extremely budget-friendly project to test your skills.
Forgiving Construction: Unlike fitted garments that require complex seaming and precise blocking, hats are naturally stretchy and flexible, allowing slight tension variations without sacrificing the final look or fit. - Choosing the Right Yarns and Tools
Selecting the correct materials is the single most important factor when crafting wearable items for infants and toddlers. A baby’s skin is significantly thinner and more sensitive than adult skin, meaning harsh synthetic acrylics or rough wools can easily cause overheating, redness, or discomfort.
The Ideal Yarn: Natural Cotton & Bamboo Blends
For summer footwear and headwear, 100% Cotton or Cotton-Bamboo Blends are the undisputed gold standards. Cotton is naturally breathable, hypoallergenic, highly absorbent, and easy to wash. Bamboo adds an extra layer of silky softness and natural antibacterial properties, making it ideal for warm-weather outdoor wear.
🛒 Amazon Affiliate Link Placement:
For best results with sensitive skin, we highly recommend using a soft, breathable DK-weight cotton yarn such as Insert Amazon Affiliate Link: Soft Ergonomic Natural Cotton Baby Yarn. It provides brilliant stitch definition and keeps your baby cool even on hot afternoons.
Essential Crochet Tools Checklist
To make your stitching experience as smooth as possible, gather the following supplies before beginning:
Ergonomic Crochet Hook (3.5mm to 4.0mm / US E-4 or G-6): Using an ergonomic hook with a soft rubber grip reduces hand fatigue and ensures consistent stitch tension throughout your work.
🛒 Amazon Affiliate Link Placement:
If you experience hand cramping while crocheting, upgrade your toolkit with an Insert Amazon Affiliate Link: Ergonomic Soft Grip Crochet Hook Set to make long crafting sessions completely effortless.
Stitch Markers: Essential for marking the beginning of continuous rounds so you never lose count of your increases.
Yarn Needle (Tapestry Needle): A blunt-ended metal needle for weaving in yarn tails securely.
Measuring Tape: Soft fabric tape to check the crown diameter and total hat depth as you progress.
Decorative Wooden Buttons (Optional): Perfect for securing a decorative ribbon or chin strap.
🛒 Amazon Affiliate Link Placement:
Add a charming rustic touch to your finished sun hat using these natural Insert Amazon Affiliate Link: Natural Smooth Wooden Decorative Buttons.
- Printable Baby Sun Hat Sizing Chart
Achieving a perfect fit relies on two key measurements: Crown Diameter (the flat circle at the top of the head) and Hat Depth (from the top crown down to the forehead just above the ears).
Use this standardized measurement table to choose the correct size for your baby.
| Age / Size Category | Head Circumference | Target Crown Diameter | Hat Depth (Before Brim) | Recommended Brim Width |
| Preemie / Newborn | 12.0″ – 13.5″ (30 – 34 cm) | 3.8″ – 4.2″ (9.5 – 10.5 cm) | 4.0″ – 4.5″ (10 – 11.5 cm) | 1.25″ (3.0 cm) |
| 0 – 3 Months | 14.0″ – 15.0″ (35 – 38 cm) | 4.5″ – 4.8″ (11.5 – 12.0 cm) | 5.0″ – 5.25″ (12.5 – 13.5 cm) | 1.5″ (3.8 cm) |
| 3 – 6 Months | 15.0″ – 16.0″ (38 – 41 cm) | 4.8″ – 5.0″ (12.0 – 12.8 cm) | 5.5″ – 5.75″ (14.0 – 14.5 cm) | 1.75″ (4.5 cm) |
| 6 – 12 Months | 16.5″ – 17.5″ (42 – 44 cm) | 5.2″ – 5.5″ (13.0 – 14.0 cm) | 6.0″ – 6.25″ (15.0 – 16.0 cm) | 2.0″ (5.0 cm) |
| 12 – 24 Months (Toddler) | 18.0″ – 19.0″ (45 – 48 cm) | 5.7″ – 6.0″ (14.5 – 15.2 cm) | 6.5″ – 6.75″ (16.5 – 17.0 cm) | 2.25″ (5.8 cm) |
Pro-Tip for Perfect Sizing:
To calculate your target crown diameter manually, simply divide the baby’s total head circumference by 3.14.
- Step-by-Step Crochet Baby Sun Hat Pattern
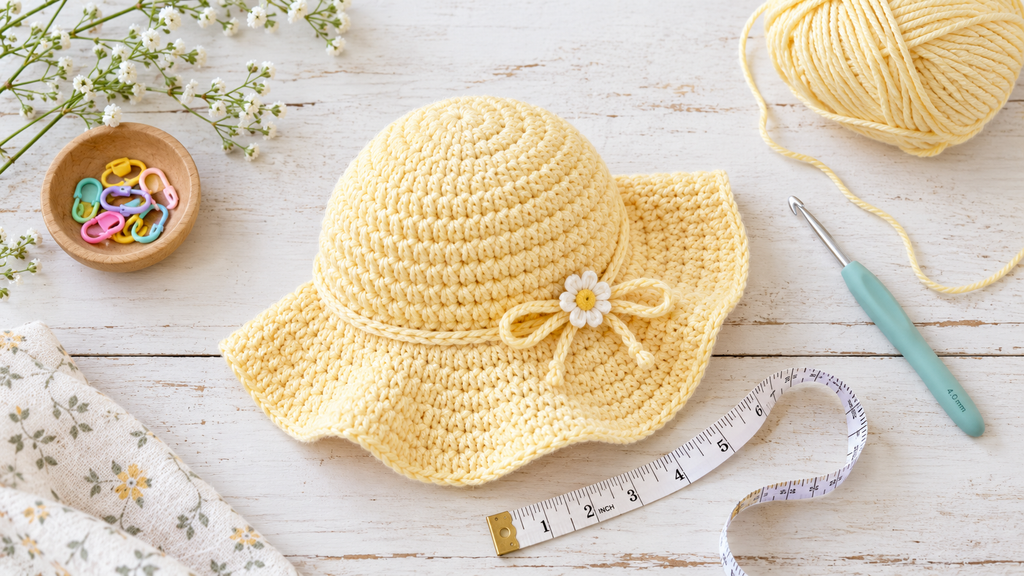
This pattern uses US Crochet Terms and is worked in continuous spiral rounds (without joining at the end of each round) to prevent a visible seam. Place a stitch marker in the first stitch of every round and move it up as you work.
Skill Level: Easy / Beginner
Gauge: 18 stitches and 20 rows = 4 inches (10 cm) in single crochet using a 3.5mm hook
Abbreviation Key:
Magic Ring (MR): Adjustable loop to start in the round
Sc: Single Crochet
Inc: Single Crochet Increase (2 single crochets in the same stitch)
BLO: Back Loop Only
FLO: Front Loop Only
St(s): Stitch(es)
Phase 1: The Crown (Flat Circle Expansion)
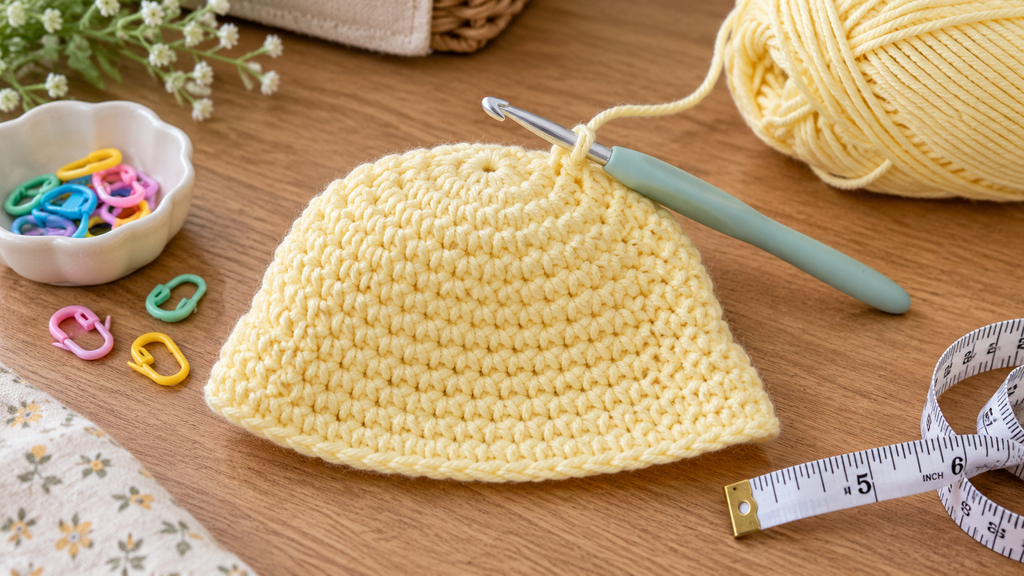
The crown forms the top flat circle of the hat. Follow these rounds until your piece reaches the target crown diameter for your selected size (refer to the Sizing Chart in Part 1).
Round 1: Begin with a Magic Ring. Work 6 sc into the ring. Pull the yarn tail tight to close the center hole. (6 sts)
Round 2: Work 1 inc in every st around. (12 sts)
Round 3: [1 sc in next st, 1 inc in following st] repeat around. (18 sts)
Round 4: [1 sc in next 2 sts, 1 inc in following st] repeat around. (24 sts)
Round 5: [1 sc in next 3 sts, 1 inc in following st] repeat around. (30 sts)
Round 6: [1 sc in next 4 sts, 1 inc in following st] repeat around. (36 sts)
Round 7: [1 sc in next 5 sts, 1 inc in following st] repeat around. (42 sts)
Round 8: [1 sc in next 6 sts, 1 inc in following st] repeat around. (48 sts)
Note: Continue adding 1 additional single crochet between increases for larger sizes (e.g., Round 9 = 7 sc, 1 inc) until your flat circle matches the Target Crown Diameter in your size chart.
Phase 2: The Body (Side Walls)
Once your crown reaches the required diameter, stop increasing. Working straight rounds creates the sides of the hat that fit down over the head.
Round 9 (Transition Round): Work 1 sc into the Back Loop Only (BLO) of every stitch around. This creates a neat ridge that marks the turn from the top of the hat down to the sides.
Rounds 10 to 22 (or desired depth): Work 1 sc into both loops of every stitch around.
Continue working continuous rounds without increasing until the hat measures your target Hat Depth from the center of the crown down to the edge.
Phase 3: The Wide Brim
The brim flares outward to shade the baby’s face, neck, and ears from the sun. Working increases into the Front Loops creates a stable, sun-blocking shape.
Round 23 (Brim Expansion): Work 1 sc into the Front Loop Only (FLO) of every st around.
Round 24: [1 sc in next 3 sts, 1 inc in following st] repeat around in both loops.
Round 25: 1 sc in every st around.
Round 26: [1 sc in next 4 sts, 1 inc in following st] repeat around.
Rounds 27 to 30: 1 sc in every st around until the brim reaches your recommended width (1.5″ to 2.25″ depending on age).
Final Round: Slip stitch in each st around to create a clean, sturdy edge. Fasten off and weave in all ends securely with your tapestry needle.
Customization & Finishing Touches
Personalizing your baby sun hat transforms a basic accessory into an adorable keepsake. Here are simple, safe ways to decorate your finished piece:
Decorative Hat Band: Crochet a simple chain long enough to wrap around the base of the hat (where the body meets the brim). Thread a contrasting color ribbon or crochet strand through the stitches for an elegant finish.
Safe Chin Strap: For active infants and windy outdoor days, attach two 8-inch crocheted chains to the inside edges of the brim. Sew a small, smooth wooden button to one strap and slip it through the stitches of the opposite strap for a secure fit.
Crochet Flower Accent: Appliqués like mini daisy flowers or leafy sprigs can be sewn onto the side of the hat band using your yarn needle. Always ensure all decorative elements are firmly stitched to prevent choking hazards.
Troubleshooting Common Crochet Hat Issues
Even experienced crafters encounter minor hiccups when working in rounds. Here is how to fix the most common challenges:
- “My Crown is Waving or Curling into a Bowl Too Soon”
Waving/Ruffling: This means you have too many stitches or your tension is too loose. Check your stitch count per round or switch to a smaller hook size (e.g., from 4.0mm to 3.5mm).
Curling Early: This happens when you have too few stitches or your tension is too tight. Ensure you are not skipping increase stitches in your early rounds. - “The Brim is Flopping into the Baby’s Eyes”
The Cause: Cotton yarn can sometimes become heavy or overly soft if worked with loose tension.
The Fix: Work the brim rounds with a hook that is 0.5mm smaller than the hook used for the body, or work a round of Reverse Single Crochet (Crab Stitch) along the outer edge to add structural firmness.
- How to Wash and Care for Handmade Baby Sun Hats
Because babies can easily get messy during outdoor play and summer picnics, knowing how to properly clean and maintain your handmade crochet sun hat is essential for preserving its shape and softness. Unlike synthetic fabrics, 100% cotton yarn requires gentle care to prevent shrinking and fading over time.
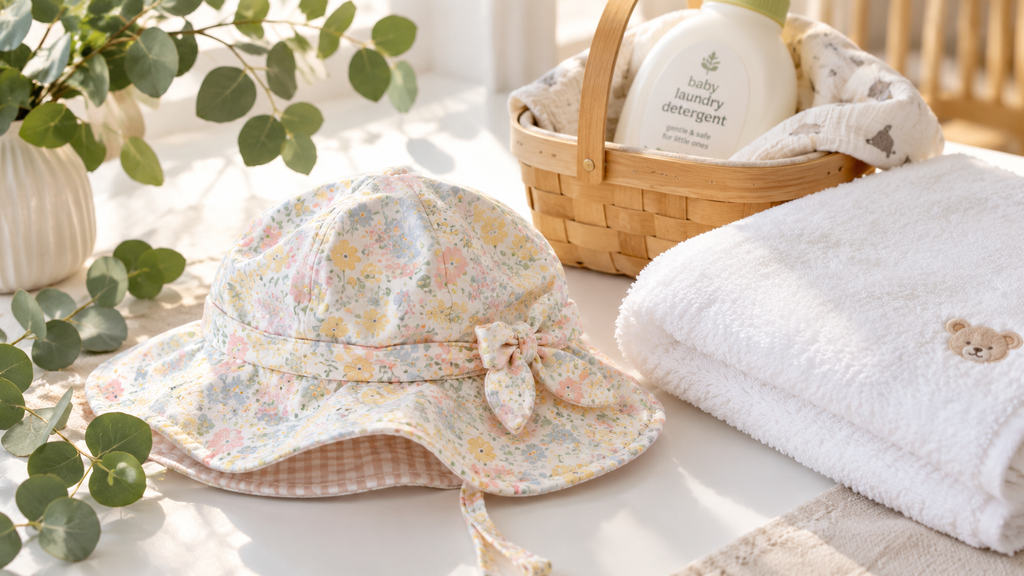
Hand Washing is Best: Always wash the hat by hand in lukewarm water using a mild, baby-safe, and fragrance-free detergent. Avoid aggressive scrubbing or wringing, which can stretch out the delicate crochet stitches and ruin the hat’s structure.
Reshaping While Damp: After gently pressing out excess water using a clean towel, lay the hat flat on a dry surface. Shape the crown and flatten the wide brim carefully with your hands so it dries evenly without creases or warping.
Air Dry Only: Never place handmade cotton crochet items in a machine dryer, as high heat will cause the natural fibers to shrink. Always let it air dry naturally out of direct, harsh sunlight to keep the vibrant yarn colors looking fresh all summer long.
Conclusion & Call to Action
Creating a handmade sun hat for your baby is much more than just a fun craft project—it is a wonderful way to combine practical sun protection with a personal, loving touch. By using soft, natural cotton yarn and following this simple step-by-step pattern, you can craft a breathable, beautiful wide-brim hat that keeps your little one comfortable and stylish all summer long.
Whether you are preparing for sunny park outings, family beach days, or searching for a heartfelt handmade gift, this beginner-friendly project delivers stunning results in just an afternoon.
Ready to start your next crafting project? Grab your favorite cotton yarn and hook today, and share your lovely finished sun hats with other crafting parents in the comments below!
Pair It with a Matching Summer Project!
Looking to complete your handmade baby outfit? A soft cotton sun hat pairs beautifully with a cute set of footwear. Check out our How to Crochet Mary Jane Baby Shoes: Free Easy Pattern & Size Chart to create the ultimate matching handmade gift set for summer!
Now that you have everything you need in this article, all that’s left is to follow the step-by-step instructions from start to finish to create a gorgeous sun hat for your little ones!