Disclosure: This post contains affiliate links. As an Amazon Associate, we earn a small commission from qualifying purchases at no extra cost to you. We only recommend products we truly love and trust.
As someone who is deeply passionate about baby crochet, in this article, I will dive into all the details of crafting a warm crochet baby blanket and help you, wonderful moms, stitch it step by step. I truly hope you find this article helpful and inspiring!
Creating a handmade item for a newborn is one of the most rewarding craft experiences you will ever undertake. There is something profoundly satisfying about taking a single skein of yarn and transforming it into a cozy, heirloom-quality baby blanket that provides warmth, comfort, and security. If you have been looking for the ultimate beginner-friendly project that builds your confidence without overwhelming you with complex techniques, you have arrived at the perfect place.
This comprehensive guide is designed specifically for new crafters. We break down every single step, from choosing hypoallergenic yarns to mastering fundamental stitches, ensuring that your very first blanket turns out beautifully shaped, incredibly soft, and structurally sound. Whether you are creating a baby shower gift, preparing for your own newborn, or stocking a handmade online shop, this step-by-step masterclass covers everything you need to know.
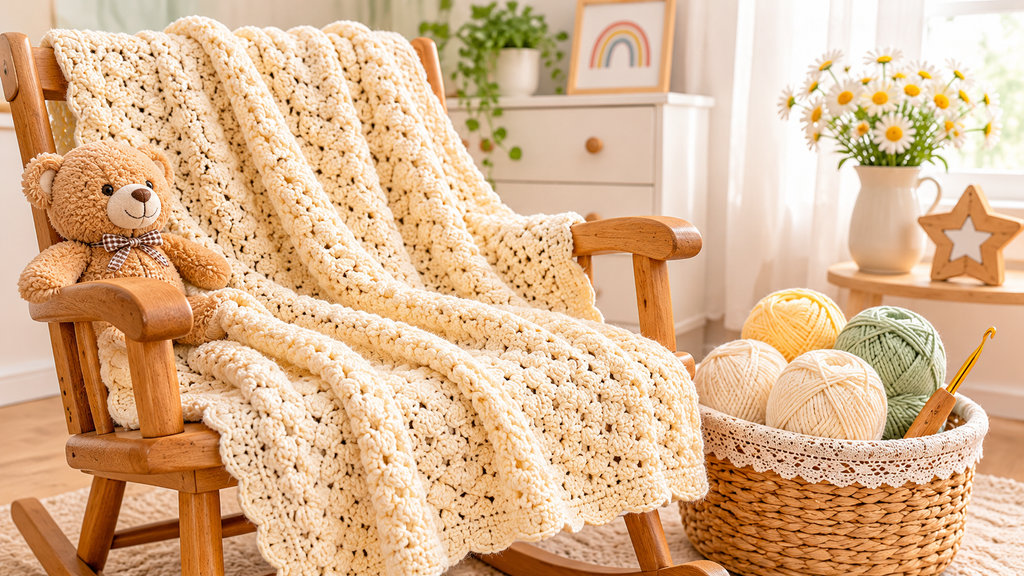
- Why a Crochet Baby Blanket Is the Best Beginner Project
When starting your fiber arts journey, selecting the right inaugural project is critical to maintaining momentum and avoiding frustration. While smaller accessories like coasters or dishcloths are often recommended, a baby blanket offers the ultimate sweet spot between simplicity, practical reward, and skill development.
A. Simple Stitch Repetition Builds Muscle Memory
Unlike intricate garments that require complex shaping, decreasing, or detailed armhole fitting, a classic baby blanket relies on structured, predictable row repetition. By repeating basic stitches over a set width, your hands naturally develop consistent yarn tension and muscle memory. This uniform motion turns your stitching sessions into a relaxing, therapeutic ritual.
B. Quick Gratification with Smaller Dimensions
Adult blankets require tens of thousands of individual stitches and dozens of hours of repetitive labor, which can lead to project fatigue for beginners. Baby blankets, however, feature compact dimensions (typically ranging from 30×30 inches to 36×36 inches). This manageable size allows you to complete a gorgeous, high-value project in just a few cozy evenings.
C. A Meaningful, Cherished Keepsake
Handmade baby items hold sentimental value that store-bought polyester blankets simply cannot replicate. A lovingly hand-crocheted blanket becomes a cherished keepsake passed down through generations, capturing the care, time, and affection poured into every single row. - Choosing the Right Baby-Safe Yarns & Tools
The secret to a stunning baby blanket lies in your raw materials. Newborn skin is exceptionally sensitive, thin, and prone to irritation, making material selection the most important structural decision of your project.
RECOMMENDED MATERIAL GUDE
| Material Category | Recommended Type | Key Benefit |
| Fiber Type | Cotton-Bamboo Blend | Hypoallergenic & Breathable |
| Yarn Weight | DK / Light Worsted | Light Weight & Soft Drape |
| Hook Size | 4.0 mm – 5.0 mm | Ergonomic Comfort & Easy Grip |
A. Selecting Safe, Washable Yarns
Always opt for fibers that offer supreme softness alongside effortless machine-washability. Parents need practical items that can withstand frequent spills and gentle washing cycles.
Cotton-Bamboo Blends: Highly recommended for summer or year-round blankets. Bamboo offers natural antibacterial properties and incredible silk-like softness, while cotton provides structural durability.
Premium Acrylics: Modern baby-specific acrylic yarns are engineered to be non-scratchy, ultra-soft, and completely machine washable without shrinking.
👉 Click the link to check the price on Amazon
B. Choosing the Perfect Hook Size & Style
Using the correct hook size prevents your blanket from becoming overly rigid or excessively loose and full of dangerous finger-snagging holes. For standard DK or light worsted weight baby yarns, an H/8 (5.0 mm) or G/6 (4.0 mm) hook is ideal.
Ergonomic Rubber Handles: Hand fatigue can quickly derail your progress. Investing in an ergonomic hook set with contoured rubber grips ensures comfortable wrist alignment during extended crafting sessions.
👉 Click the link to check the price on Amazon
C. Essential Supporting Notions
Beyond yarn and hooks, keep these essential tools nearby:
Blunt Tapestry Needles: Crucial for weaving loose ends deeply into your stitches so they never unravel in the wash.
Locking Stitch Markers: Used to mark the first and last stitch of every row to prevent accidentally dropping stitches along the edges.
Soft Measuring Tape: Essential for monitoring your blanket’s dimensions as you build row height.
Universal Baby Blanket Sizing Chart
Before casting your foundation chain, deciding on the exact purpose and intended lifespan of your blanket helps determine its finished size. Below is a mobile-optimized sizing guide to help you choose the ideal dimensions for your project:
| Blanket Type | Width (Inches) | Length (Inches) | Best Used For | Recommended Chain Count |
| Loveie / Security | 12″ – 14″ | 12″ – 14″ | Comfort Toy & Cuddling | 35 – 40 Chains |
| Preemie Blanket | 18″ – 24″ | 18″ – 24″ | NICU & Premature Infants | 55 – 65 Chains |
| Stroller / Car Seat | 30″ – 32″ | 30″ – 35″ | Travel & Daily Stroller Outfits | 85 – 95 Chains |
| Standard Receiving | 34″ – 36″ | 34″ – 36″ | Swaddling & Tummy Time | 100 – 110 Chains |
| Crib Blanket | 36″ – 40″ | 45″ – 60″ | Nursery Bedding & Toddlers | 115 – 130 Chains |
Pro Tip: Always create a quick 10-stitch gauge swatch with your chosen yarn and hook to verify how many stitches equal one inch before starting your full-sized foundation chain.
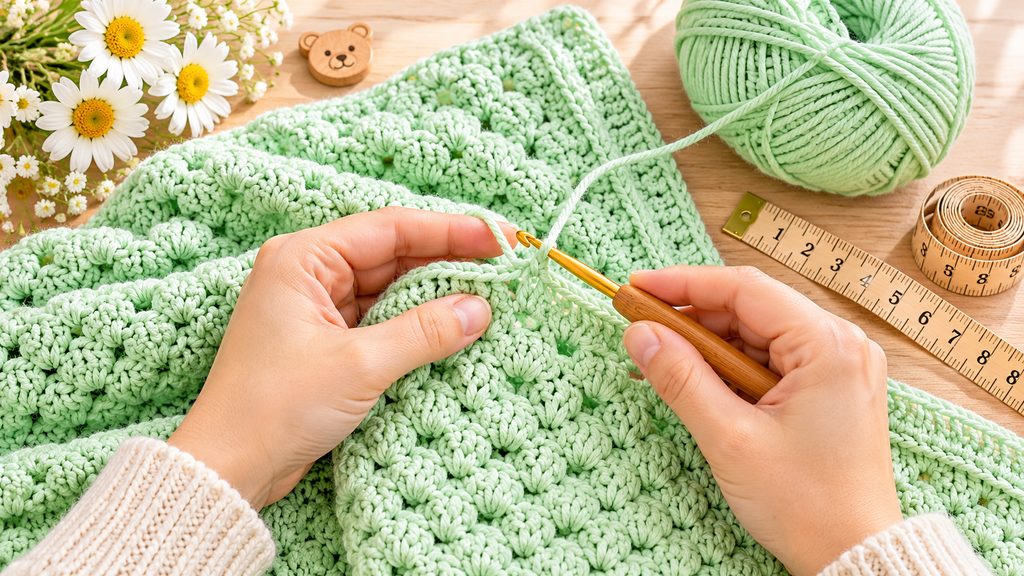
- Step-by-Step Crochet Baby Blanket Pattern
This pattern utilizes the Suzette Stitch (a simple combination of Single Crochet and Double Crochet worked into the same stitch). It creates a dense, luxurious, textured fabric without large gaps or open holes, making it completely safe for tiny baby fingers and toes.
Basic Pattern Specifications
Skill Level: Absolute Beginner
Gauge: 14 stitches x 12 rows = 4 inches (10 cm) in pattern stitch
Finished Size Featured: Standard Stroller / Car Seat Blanket (30″ x 34″)
Part A: The Foundation & Row 1
Step 1 (Foundation Chain): Chain 90 (or any even number of chains until your foundation chain measures approximately 30 inches wide). Maintain relaxed, even tension throughout your foundation chain to avoid a tight, curving bottom edge.
Step 2 (Row 1 Setup): In the 2nd chain from your hook, work 1 Single Crochet (SC) and 1 Double Crochet (DC) into the exact same chain space.
Step 3 (The Skip & Repeat): Skip the next chain completely. In the following chain, work (1 SC, 1 DC) into the same chain space.
Step 4 (Ending Row 1): Continue the pattern of [Skip 1 chain, (1 SC, 1 DC) in next chain] all the way across your foundation chain until 2 chains remain. Skip 1 chain, and place 1 Single Crochet (SC) only into the very last chain. Turn your work. (89 stitches total)
- Step-by-Step Crochet Baby Blanket Pattern
Now that you have successfully completed your foundation row and established your rhythm with the first row of the Suzette stitch, we will continue building the main body of your baby blanket. The beauty of this stitch design lies in its rhythmic texture, which creates a thick, plush, and squishy fabric while keeping tiny baby fingers completely safe from getting tangled in large, open loops.
Part B: Detailed Step-by-Step Execution for Rows 2 and Beyond
Step 1 (The Turning Chain and Transition): At the end of Row 1, make 1 Chain (Ch 1) and turn your work horizontally. This turning chain functions purely as a height bridge to bring your yarn up to the level of the next row and does not count as an active stitch. Never work your first stitch into this turning chain.
Step 2 (Executing the First Suzette Cluster): Identify the very first stitch space at the base of your turning chain (which is the top loops of the single crochet stitch that finished your previous row). Insert your hook, yarn over, pull up a loop, yarn over, and pull through both loops to complete 1 Single Crochet (SC). Immediately insert your hook into that exact same stitch space, yarn over, pull up a loop, yarn over, pull through two loops, yarn over again, and pull through the remaining two loops to complete 1 Double Crochet (DC). You have now completed your first cluster of the row.
Step 3 (Navigating the Skip and Stitch Pattern): Look closely at the top of your previous row. You will see a tall double crochet stitch next in line. Skip this double crochet stitch entirely. Move your hook to the next stitch space, which is the shorter single crochet stitch from the row below. Work (1 SC, 1 DC) directly into this single crochet space.
Step 4 (Maintaining Your Mid-Row Sequence): Continue this exact sequence across the entirety of your row: [Skip 1 double crochet stitch, work (1 Single Crochet, 1 Double Crochet) into the following single crochet stitch]. As you progress across the blanket, make sure to keep your working yarn relaxed so that your stitches glide smoothly over the throat of your crochet hook without forcing or pulling tight.
Step 5 (Executing the Row Ending Stitch): As you approach the end of your row, you will have two stitches remaining (one double crochet and one single crochet from the previous row’s start). Skip the double crochet. In the final single crochet stitch, work 1 Single Crochet (SC) only. Working a single SC at the very end of the row secures a clean, straight, and non-wavy outer border edge across the entire vertical length of your blanket.
Step 6 (Building Your Blanket Height): Repeat Rows 2 through the final desired length. For a standard 30″ x 34″ stroller blanket, you will work approximately 95 to 105 total rows. Keep checking your blanket’s squareness every 10 rows by laying it flat on a clean table surface. - Embellishments & Professional Finishing Touches
Once your blanket reaches its final required dimensions, taking extra time to focus on professional finishing techniques will dramatically elevate your handmade creation from a simple DIY project into a luxury, boutique-quality nursery heirloom.
A. The Correct Method for Weaving in Loose Ends
Improperly secured yarn tails are the number one reason handmade crochet items unravel after passing through household washing machines. Never cut your yarn flush with your final stitch, as water agitation and stretch will quickly pull the fiber ends loose. - Leave a Generous Tail: When cutting your working yarn at the end of your final row, leave a tail of at least 6 to 8 inches in length. Pull the tail straight through your final working loop to lock the stitch tightly.
- Use a Metal Tapestry Needle: Thread the loose tail onto a blunt metal tapestry needle.
- Weave in Three Directions (The 3-Way Lock Method): Pass your needle horizontally through the thickest, dense center loops of your stitches for roughly 2 inches. Turn the needle and weave back in the exact opposite direction through adjacent loops for 1.5 inches. Finally, pass the needle diagonally down into the body of a lower row for 1 inch. This multi-directional path locks the fibers firmly into the fabric, making unravelling completely impossible even after dozens of machine wash cycles.
B. Adding Rustic Decorative Accents and Leather Branding Tags
If you want to give your finished baby blanket a charming, high-end commercial aesthetic, consider incorporating subtle rustic accents:
Decorative Wooden Buttons: You can attach smooth, polished wooden buttons to the corners of the blanket or use them to secure a folded fabric corner for presentation. Always ensure buttons are stitched on tightly using heavy-duty cotton thread to guarantee child safety.
Custom Faux-Leather Tags: Stitching a small fold-over faux-leather tag engraved with “Handmade with Love” onto the bottom corner immediately transforms your blanket into a high-value item suitable for selling in online boutique storefronts or giving as a cherished baby shower gift.
👉 Click the link to check the price on Amazon
- Troubleshooting Common Beginner Mistakes & Expert Solutions
Even experienced crafters encounter structural quirks when working on large rectangular projects. Understanding why these issues occur allows you to correct them early without having to unravel hours of hard work.
A. “My Blanket Edges Are Slanting Inward or Flare Outward”
The Diagnosis: Slanted or trapezoid-shaped blanket edges are almost always caused by accidentally dropping or adding stitches at the extreme outer edges of your rows. Beginners frequently mistake turning chains for stitches or accidentally skip the final single crochet space.
The Solution: Use locking stitch markers! As soon as you complete the first stitch of a new row, place a stitch marker into those top two loops. When you reach the end of the row, place another marker into the last stitch. This visually marks your boundary lines so you never miss an edge stitch. Count your total stitch count every 5 to 10 rows to verify that your number matches your initial foundation count.
B. “The Blanket Feels Extremely Stiff and Board-Like”
The Diagnosis: If your fabric lacks drape and feels overly rigid, your stitch tension is too tight, or your crochet hook is too small for your selected yarn weight. A baby blanket must be soft, flexible, and snuggly.
The Solution: Frog (unravel) your work back to the foundation chain and increase your hook size by 0.5 mm or 1.0 mm (for example, move from a 4.0 mm hook to a 5.0 mm hook). A larger hook creates roomier loops, resulting in a plush, ultra-soft fabric drape.
C. “The Bottom Foundation Chain Is Curving or Pulling Tight”
The Diagnosis: Foundation chains naturally pull tighter than textured stitch patterns because they lack the elasticity of actual rows.
The Solution: Always go up one full hook size only when chaining your initial foundation chain. For instance, if your blanket pattern calls for a 4.5 mm hook, chain your foundation using a 5.5 mm hook, then switch back to your 4.5 mm hook to work Row 1. This ensures your bottom edge remains perfectly elastic and completely flat.

- Conclusion: Wrap Up Your Cozy Baby Blanket Project
Crafting your very first warm crochet baby blanket is a truly fulfilling journey that blends creativity, relaxation, and love into every single stitch. By following this step-by-step guide, selecting soft baby-safe yarns, and mastering the comfortable Suzette stitch, you have created a timeless heirloom that brings warmth and comfort to any nursery. Remember, minor imperfections only add unique charm to handmade treasures! Now that you have mastered this foundational skill, it is time to pick up your hook, choose your favorite yarn colors, and bring this cozy project to life.
👉 Ready for your next craft project? Read our complete guide on Top 6 Soft & Non-Slip Crochet Baby Booties for Halloween to craft a matching booties set!
I truly hope you found this guide helpful! Now, all that’s left is to grab your crochet tools and start making that very first cozy blanket for your little ones. Thank you so much for taking the time to read this article!