Disclosure: This post contains affiliate links. As an Amazon Associate, we earn a small commission from qualifying purchases at no extra cost to you. We only recommend products we truly love and trust.
As someone who is deeply passionate about baby crochet, my goal in this article is to highlight the common mistakes beginners make when crafting crochet toys for infants, along with practical tips on how to fix and avoid them.

Crafting handmade crochet toys for infants is one of the most rewarding projects a beginner can take on. Unlike oversized blankets or complex garments, small baby toys and amigurumi rattles work up quickly, require minimal yarn, and give you instant satisfaction as a cute character takes shape in your hands. However, because babies explore the world by putting everything in their mouths, crafting infant toys requires extra attention to tension, stitch density, and safe assembly. Even small beginner missteps—like loose gaps that expose stuffing or poorly secured embellishments—can affect the safety and durability of your finished toy. By learning how to spot and fix these common mistakes early on, you can confidently stitch heirloom-quality, baby-safe toys from your very first project.
- Why Baby Toys Are the Ideal Project for Beginners
Starting your crochet journey with small infant toys—such as soft sensory rattles, mini plushies, or teething rings—builds essential skills without overwhelming you:
Fast Results & High Motivation: Most beginner baby toys take between one and three hours to finish, keeping your enthusiasm high and delivering quick wins.
Core Skill Mastery: Toys introduce you to working in continuous spirals, single crochet stitches, invisible decreases, and basic three-dimensional shaping—skills that transfer directly to larger projects.
Budget-Friendly Stash Busters: A single skein of yarn is often more than enough to complete an entire rattle or plush rattle ball, making it an economical way to practice.
Memorable Handmade Gifts: Personalized, soft crochet toys make heartfelt baby shower presents and keepsakes that parents truly treasure. - Choosing the Right Baby-Safe Yarns and Essential Tools
One of the biggest mistakes beginners make is grabbing whatever leftover wool or fuzzy yarn is sitting in their craft basket. Infant toys demand specific, washable, and hypoallergenic materials:
Baby-Safe, Non-Shedding Yarns: Avoid fuzzy mohair, shedding chenille, or scratchy wool that can irritate delicate skin or be inhaled by babies. Instead, choose smooth, tightly spun 100% combed cotton or baby-safe acrylic that holds crisp stitch definition. A reliable, ultra-soft option is Bernat Baby Blanket Yarn for larger plushies, or smooth organic cotton for crisp, chew-safe rattles.
Ergonomic Crochet Hooks: Toy making requires tight, firm stitches, which can quickly cause hand cramps if you use thin metal hooks. Switching to an Ergonomic Crochet Hook Set with Rubber Handles cushions your grip, reduces wrist fatigue, and helps you maintain even tension across tight rounds.
Safe Natural Accents & Closures: Never use plastic safety eyes with washers on toys meant for children under three, as babies can chew or pull them loose. Opt for embroidered facial features and smooth, untreated Natural Wooden Sewing Buttons or wooden teething rings stitched securely into the fabric.
- Standard Baby Toy Sizing & Hook Reference Chart
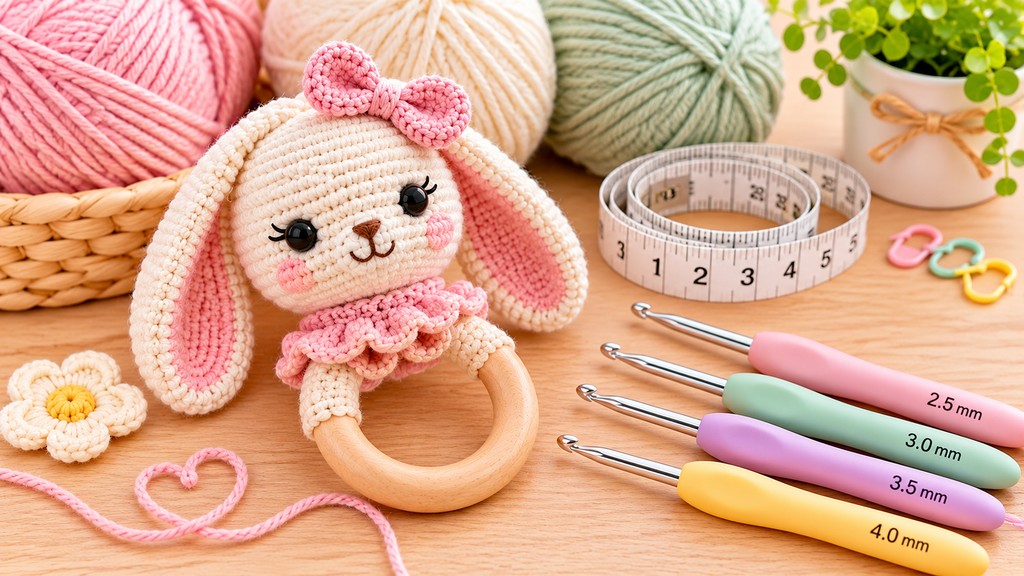
Using the wrong hook size for your yarn weight is the number one cause of holes in crochet toys. Use this quick reference chart to size your hook down properly so stuffing stays securely locked inside:
| Toy Type | Recommended Yarn Weight | Suggested Hook Size | Finished Target Size | Key Safety Focus |
| Mini Sensory Ball | DK / Light Worsted (Category 3) | 2.75 mm – 3.25 mm | 3 to 4 inches diameter | Tight single crochet; zero stuffing gaps |
| Wooden Ring Rattle | Worsted Cotton (Category 4) | 3.5 mm – 4.0 mm | 5 to 6 inches tall | Securely wrapped ring; enclosed rattle insert |
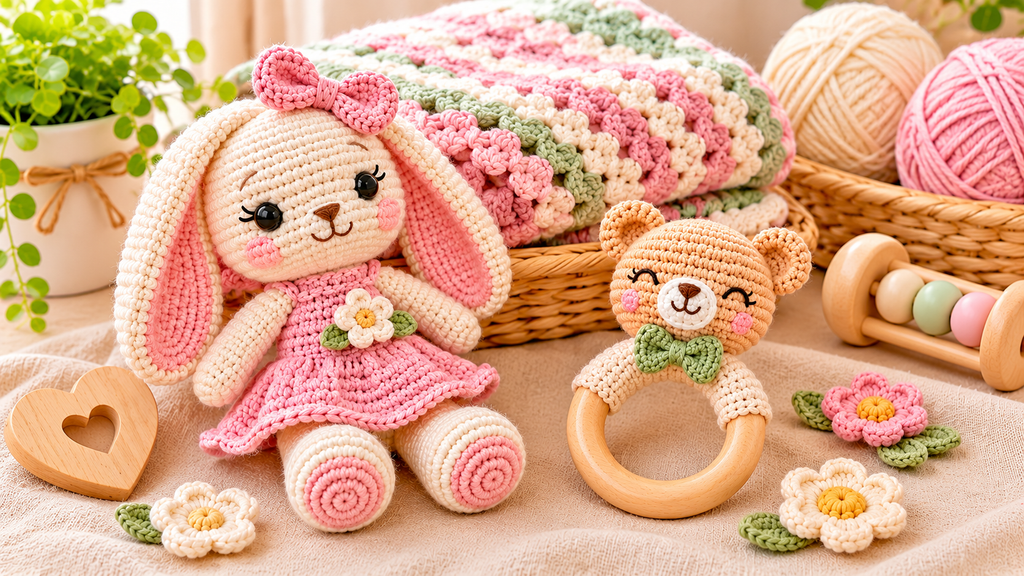
| Small Amigurumi Bunny | Worsted Cotton / Acrylic (Cat. 4) | 3.5 mm – 4.0 mm | 6 to 8 inches tall | Embroidered eyes; double-knotted limb seams |
| Cuddle Lovey Plush | Chunky Baby Plush (Category 5/6) | 5.5 mm – 6.5 mm | 10 to 12 inches wide | Firm neck attachment; machine-washable fiber |
| Teething Ring Bunny Ears | 100% Combed Cotton (Cat. 3/4) | 3.25 mm – 3.5 mm | 4 to 5 inches long | Tightly knotted ears; untreated beechwood ring |
Step-by-Step Beginner Pattern: Mistake-Proof Sensory Rattle Ball
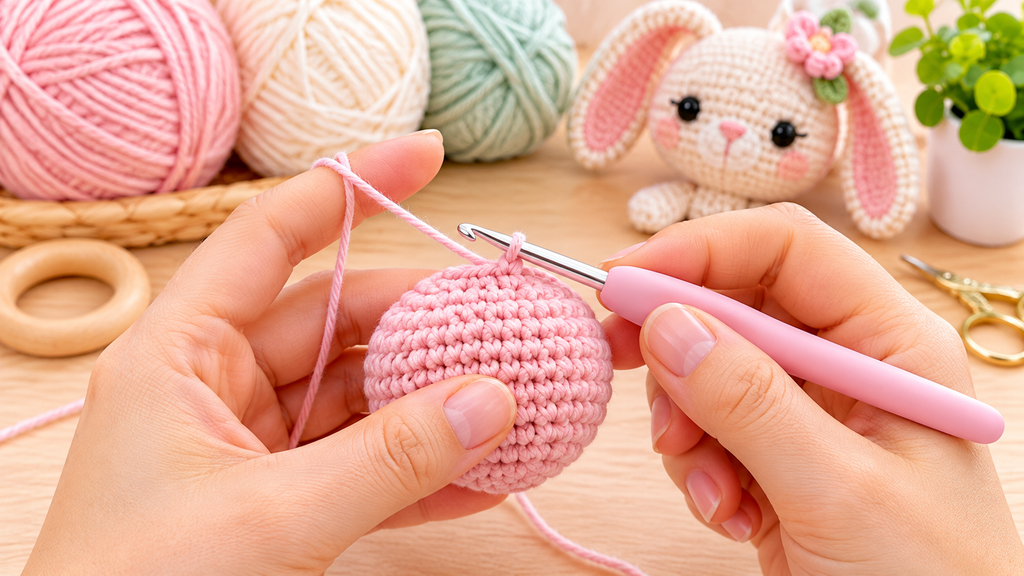
Follow this simple, mistake-proof sphere pattern to practice tight tension, clean increases, and invisible decreases:
Round-by-Round Execution
- Round 1 (Magic Ring Foundation): Create a Magic Ring and work 6 single crochet (sc) stitches into the ring. Pull the tail tightly closed so there is zero center hole. (6 stitches)
- Round 2 (Even Expansion): Work 2 single crochets into every stitch around. Place a stitch marker in the very first stitch of the round so you never lose track of where your spiral begins. (12 stitches)
- Round 3 (Shaping the Curve): Work 1 single crochet in the next stitch, then 2 single crochets in the following stitch. Repeat from * to * around. (18 stitches)
- Round 4 (Widening the Sphere): Work 1 single crochet in each of the next 2 stitches, then 2 single crochets in the next stitch. Repeat around. (24 stitches)
- Rounds 5–8 (Building the Body): Work 1 single crochet into every stitch around without any increases for 4 consecutive rounds. Keep your yarn tension firm and consistent. (24 stitches per round)
- Round 9 (Invisible Decreases): Work 1 single crochet in each of the next 2 stitches, then execute 1 invisible decrease (insert hook through the front loops only of the next 2 stitches, yarn over, pull through 2 loops, yarn over, pull through final 2 loops). Repeat around. (18 stitches)
- Stuffing & Rattle Insertion: Firmly pack hypoallergenic polyester fiberfill into the sphere until it feels plump but not stretched open. Tuck a sealed plastic rattle insert directly into the center of the stuffing.
- Round 10 (Closing the Sphere): Work 1 single crochet in the next stitch, followed by 1 invisible decrease. Repeat around. Add a tiny pinch more stuffing if needed before the opening gets too small. (12 stitches)
- Round 11 (Final Closure): Work 6 consecutive invisible decreases around. Fasten off leaving an 8-inch yarn tail. Thread a blunt tapestry needle through the front loops of the remaining 6 stitches, pull tight to close completely, and weave the tail deep inside the ball. (6 stitches)
- Decorating and Finishing Details Safely
How you finish and decorate a baby toy determines whether it becomes a safe daily favorite or a hazard:
Embroider All Facial Features: Use contrasting cotton yarn or embroidery floss to stitch sleepy eyes, a tiny triangle nose, and a gentle smile. Secure all thread ends inside the stuffing before closing your final seam.
Double-Stitch Every Limb and Ear: When attaching ears, arms, or decorative wooden buttons to a toy, sew around the join at least twice using matching cotton yarn. Knot the ends together tightly and bury the tails deep inside the toy’s core.
Choose Untreated Wood Accents: If attaching a teething ring or decorative wooden button, verify that the wood is smooth, splinter-free, and free of toxic paints or chemical varnishes. - Top Beginner Crochet Mistakes (And How to Fix Them)
Review this troubleshooting checklist to immediately fix the five most common errors beginners encounter when crocheting baby toys:
Mistake 1: Stuffing Shows Through Gaps Between Stitches
The Cause: Your hook size is too large for your yarn, or your tension is too relaxed.
The Fix: Drop down 1.0 mm to 1.5 mm smaller than the hook size recommended on your yarn label. Tighter stitches lock stuffing inside even after machine washing.
Mistake 2: Using Standard Decreases That Leave Bumps and Holes
The Cause: Traditional sc2tog decreases bunch up two full stitches, creating visible gaps on curved toy heads and bodies.
The Fix: Always use the Invisible Decrease (working into the front loops only of two adjacent stitches) so decreases blend smoothly into the fabric.
Mistake 3: Working “Inside Out” Without Realizing It
The Cause: As a sphere curves upward, the natural curl pushes the wrong side of the fabric outward.
The Fix: Remember the golden rule: “The noodle goes in the bowl.” Tuck your starting yarn tail inside the cup shape as you work so the neat, V-shaped right side faces outward.
Mistake 4: Losing Track of Spiral Rounds
The Cause: Amigurumi toys are worked in continuous spirals rather than joined rounds, making it easy to miss or add stitches.
The Fix: Always clip a locking stitch marker into the first stitch of every new round and move it up as you progress.
Mistake 5: Overstuffing or Understuffing the Toy
The Cause: Understuffing leaves toys floppy and misshapen, while overstuffing stretches stitches open.
The Fix: Stuff in small, torn-apart tufts rather than one giant clump, shaping the toy evenly with your fingers until it feels firm yet squeezable without stretching the yarn.
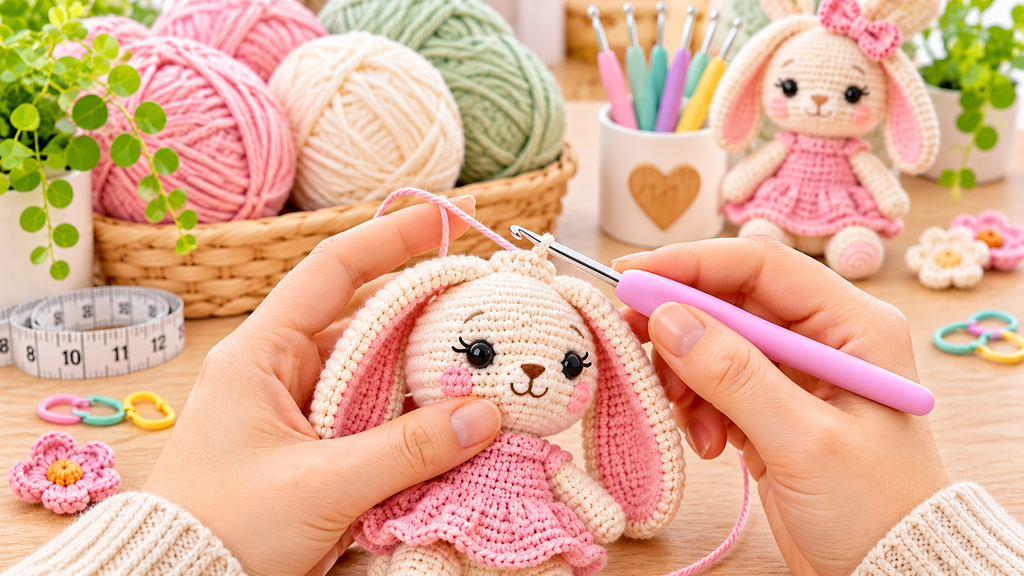
As you progress further into your crochet journey, mastering the technical aspects of stitching baby toys is only part of the equation; cultivating patience and attention to detail is what truly transforms a simple handmade item into a cherished family heirloom. One of the most common hurdles that beginners face is maintaining consistent tension throughout complex or repetitive rounds. When working on multi-part projects like amigurumi animals or sensory rattles, even slight shifts in grip or posture can lead to uneven shapes, asymmetrical limbs, or unwanted gaps where stuffing can peek through. To overcome this, try setting aside dedicated, distraction-free crafting sessions where you can focus entirely on your rhythm and hand positioning. Taking short breaks to stretch your fingers and wrists will also prevent fatigue, ensuring your stitches remain uniform and secure from your first loop to your final knot. Furthermore, embracing the learning curve is essential. Do not get discouraged if your initial attempts require frogging—unraveling and re-stitching is a natural and vital part of mastering any fiber art. Every single row you complete builds valuable muscle memory, refines your technical precision, and deepens your creative intuition. By investing time in selecting the right hypoallergenic materials, double-checking your stitch counts, and ensuring that all embellishments and embroidery work are fastened securely, you are actively prioritizing both aesthetic beauty and uncompromising safety. This level of dedication is precisely what separates amateur crafts from professional, boutique-quality creations that parents can trust and babies can love safely for years to come. Take pride in every handmade detail you stitch, as your time, care, and creativity are poured into each unique piece.
Looking for more step-by-step guidance? Take your crafting skills to the next level and explore our complete, illustrated beginner guide The Little Cloud Cardigan Knitting Pattern PDF to create even more adorable handmade garments for your little ones!
- Elevating Your Craft: Bringing Safe, Handmade Joy to Every Stitch
Mastering the art of baby toy crochet comes down to thoughtful preparation, consistent tension, and prioritizing infant safety in every detail. By sizing down your hook, using invisible decreases, choosing smooth washable cottons, and replacing plastic parts with secure embroidery and natural wood accents, you eliminate the common pitfalls that frustrate beginners. Each small rattle, sensory ball, or plush companion you create strengthens your core crochet skills while resulting in a durable, heartfelt keepsake built to be loved and played with safely.
Ready to Start Your Next Project?
Put these techniques into practice today! Save this troubleshooting guide to your Pinterest Crafting Boards so you always have these fixes on hand during your next project, or explore our growing collection of beginner-friendly PDF patterns, stitch tutorials, and baby-safe yarn guides. Pick up your ergonomic hook, choose your favorite soft cotton yarn, and start stitching your next handmade baby toy today!
Related Post: Looking for festive handmade gift ideas for your little one? Check out our curated guide on the 6 Best Crochet Santa Claus Toys for Babies: Cute Christmas Amigurumi Gifts for safe and adorable holiday inspiration!
Now that I’ve shared everything you need to know about this topic, it’s time to start your project the right and easiest way possible. Thank you so much for reading this article!